
cut the story short.
oryte..first of all, i'm not a pro photographer.
secondly, i'm just using a sonycybershot T700 or sometimes using camera phone either from sony ericcson Aino (kasi highlight sikit) or Blackberry Bold. (you can notice the picture quality between this 2 phone camera) yes i do not own any DSLR.
ok my trick in snapping picture was the picture size. as you all can see most of my picture gonna be in HD size. macam mane nak cakap eh...hurmm kalo u guys ade digital camera, u do know that we could set the picture size. as for my T700 it have (...)
 |
| 16:9 aspect ratio wif size of 7MB per picture, print up to A4 size sure x pecah punyer :) |
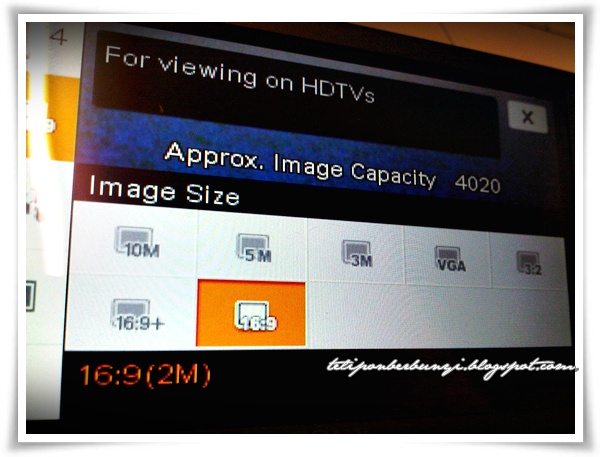 |
| mostly size yg mE gune 16:9 wif 2MB per picture. |
so i'll go for the HD size or 16:9 picture size.
gamba akan berbentuk rectangular instead of square. kenapa pilih rectangular..?? entah just found it nice kot or maybe since now everything also go for HD. so nanti bile nak view dekat HD TV gamba akan still nampak cantek :)
how to focus or places the object in a picture or we call it angle. yup how to choose your angle.
technique nih belajar mase zaman sekolah. another #confession, i do take art as one of my SPM subject..i love painting art actually. adore how the artise draw and paint their pictures cantek..!!
ok back to the technique, my art teacher told me about 2/3 of the canvas gonna be the center poit of the picture. the point most of people gonna find the picture is interesting. it's not a must to put you focus point in the middle of the canvas. unless if you are going to paint a potrait.
this is how you estimate the 2/3 of the canvas.
 |
| landscape |
 |
| potrait |
oryte let you guys do the justification.
 |
| object at center point picture credit to Mike Ljdd friend in my FB |
 |
| object at 2/3 point |
1st picture is good as a whole..the background to make the picture look beautiful.
2nd picture, it focus more on the object itself.
so it's actually depending on what you want to show to you viewer and how the viewer interpreted it. in art there's no right or wrong because the beauty lies in the eyes of the beholder. ;)
voice message: art is sooo subjective. ;)
Awww~~~thanx a lot!!! Surely will use all these tips when I bought a new camera that is:) hehehe the old one is outdated already..(excuses). Oh by the way, well said! Our blog is a medium for our own thoughts and rambling, no need for hundreds or thousands of followers. Yang penting, our followers really are interested to read what we wrote, not just for the sake of I follow u, u follow me or vice versa kan kan:)Thank u again!!!! (if u could hear me, I scream soooooooooo loud) teeheehee
ReplyDelete